Table of Contents
![]()

Thanks to our partners for the visual materials provided.
![]()
Screencast
Introduction
In WebHMI, Screens or Dashboards are analogous to screens for HMI operator panels or graphic screens in SCADA systems.
Nowadays control and dispatching of production technological systems provide:
- Real and full current situation of all engineering systems at any time
- Quick and adequate emergency response.
- Ability to issue alarm messages on the monitor screen, printer, remote computer, mobile phone;
- Registration of all system events, which allows in many cases to establish the cause of the accident, its culprit, as well as to prevent its occurrence in the future;
- Quick and accurate response to changing environmental conditions;
- Receive objective information about the work and condition of all systems, timely inform dispatchers about the need to call service specialists in case of deviations from the standard indicators;
- Promptly make decisions in emergency, emergencies (fire, flooding, water, gas leaks);
The screencast serves to fulfil these requirements. You can create a context-sensitive environment to keep the operator focused. It will provide the dispatcher with only the information it needs without having to manually switch the dispatcher part.

Best practises
There are several typical solutions, where screencast is essential and which fully unlocks the potential of the screencast. Here it is:
- TV sets to display information, where there are no proper interfaces to interact with. Setting automatic carousel or context-sensitive system will allow having access to more information.
- Protect device's screen against dusty and damp environments, by enclosing it to IP68 case. Having no more access to touchscreen, you can use physical buttons to switch between pages or even setting the automatic carousel to reject from control at all.
Creating and managing screencast
Introduction
There a several steps to start using screencast.
- Choose existing role (e.g., Read-Only user) or create a role for screencast user with necessary permissions.
- Make sure that in the role settings proper access checked, such as “Access dashboard” and “Access Screens”.
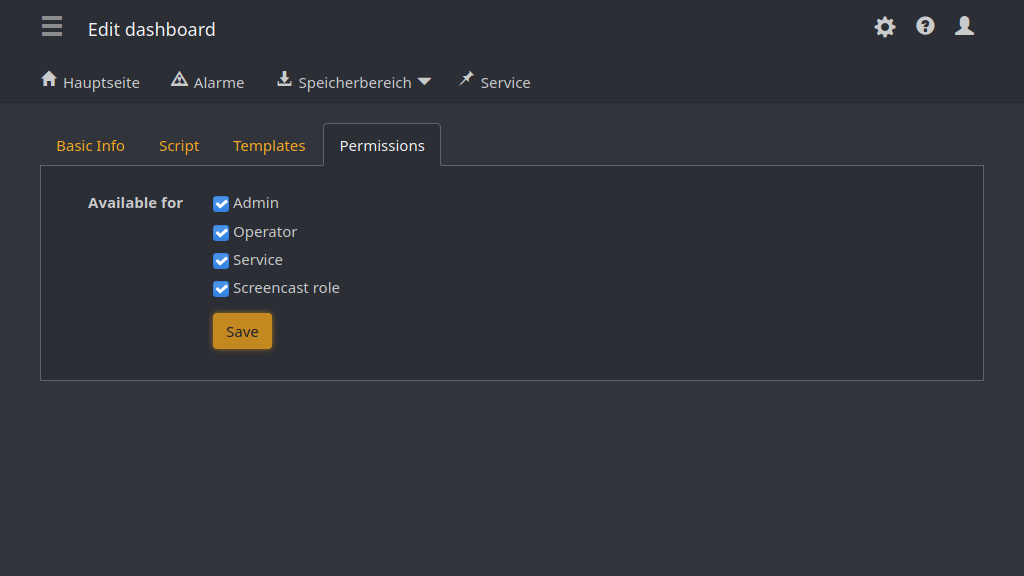
- On a “Permissions” tab check both the dashboard's and the role's checkboxes are checked.
- Create a screencast's user for an operator to login with.
- Find a special register like “screencast_link” inside the newly-created connection named “WebHMI Screencast” with screencast page pointer. This is the only registry for each user who has enabled screencast mode.
- Put some page-link e.g., “/dashboard2.php?id=1” to screencast's link register to the dashboard. The best practice is doing that via Lua script. Be aware that at the time of creation it will be empty and the screencast user will see an error. That page URL should start with
/symbol. - Login with the screencast user credentials.
Role
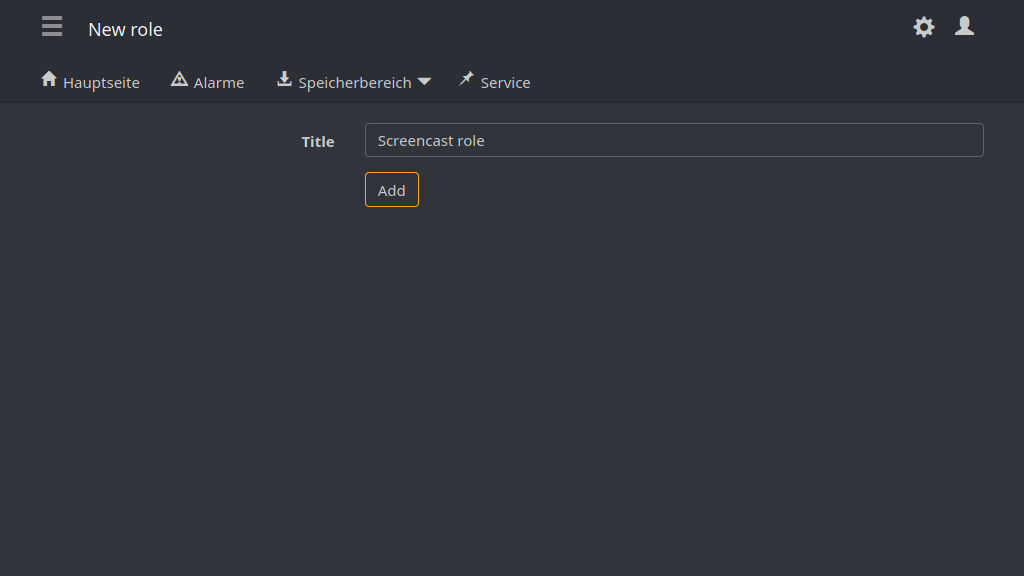
In this example, it will be a new role creation considered.
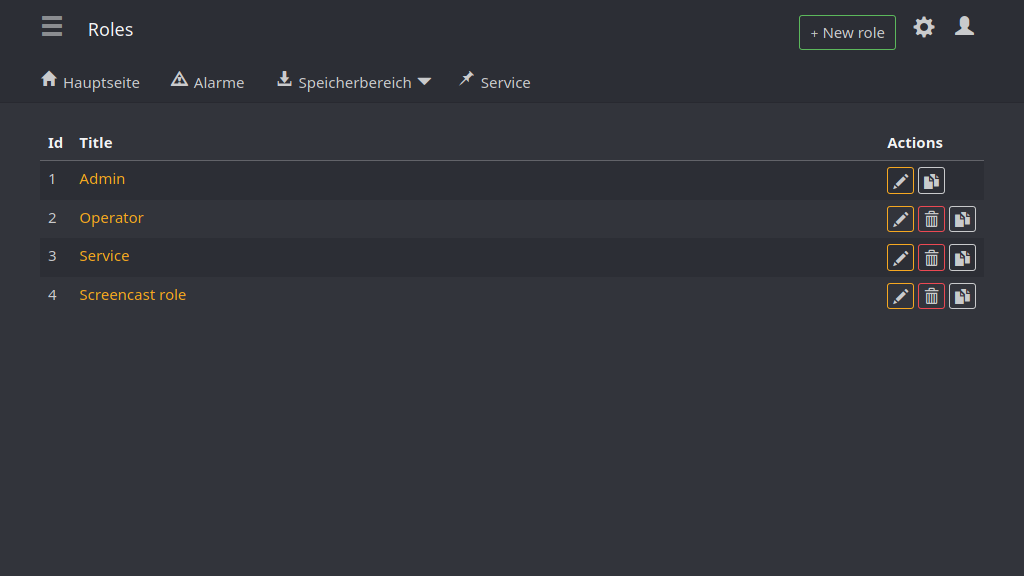
On the menu “Users” there is “Roles” link. Click the “New Role” button.
 Let's edit roles permissions to be able to have access to the pages that we intended to.
 Those permissions are access to dashboards and screens in the example case.

Screencast user
You need to create a new user with “Screencast mode” checkbox enabled or you can edit an existing user.

Dashboard's permissions check
Note that, there is also availability checkboxes for the roles in the everyone dashboard settings.
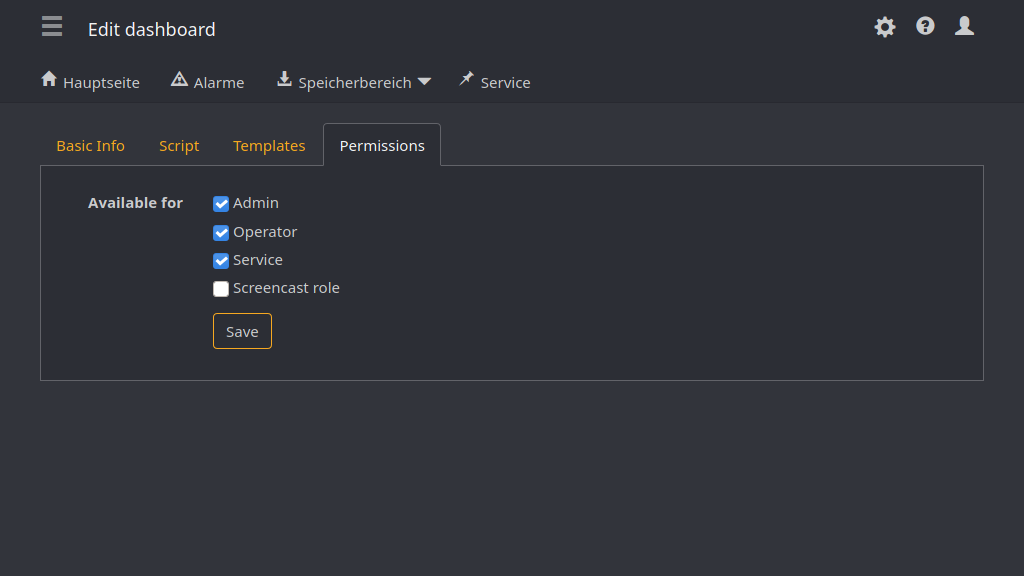
Make sure that dashboards you want to show available to a newly created role (both in dashboard settings and roles permissions).
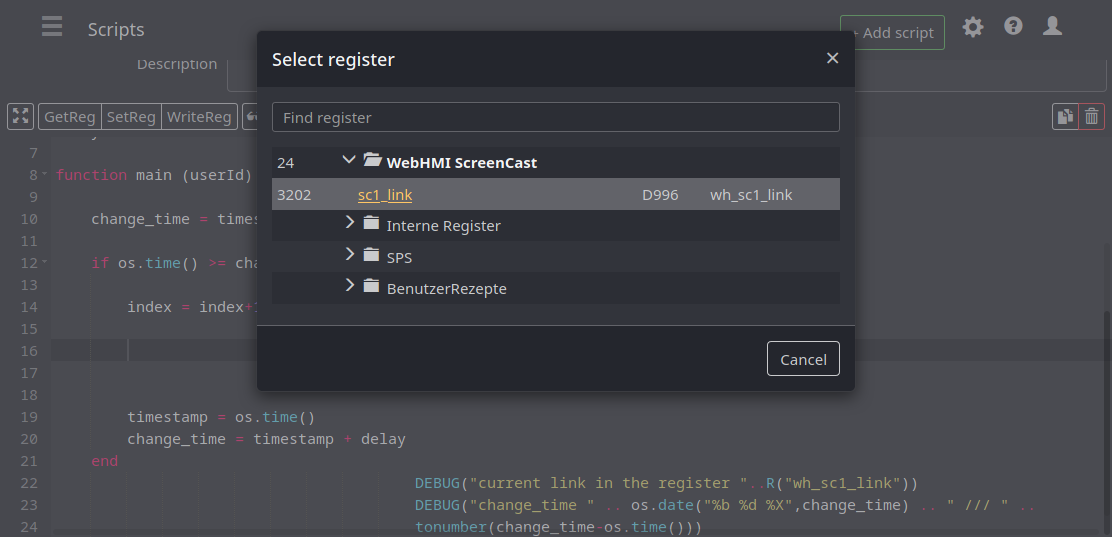
Link Register
To manage screencast user's casting there is a special register will be created at the same time as the user created.
 The screencast's register has a
 _link suffix in a name as a regular expression.
The screencast link for user “screencast1 will be wh_screencast1_link.
Its address will be displayed as D996 for screencast1 user with id = 4, where 996 = 1000 - userId.
The Lua script will be considered below.
In the Lua editor, you can link that register with GUI. If there are multiple screencast-mode users, make sure to select the corresponding link when editing. In the given example there are no any other registers.
 When creating a Lua script, it would look like this:
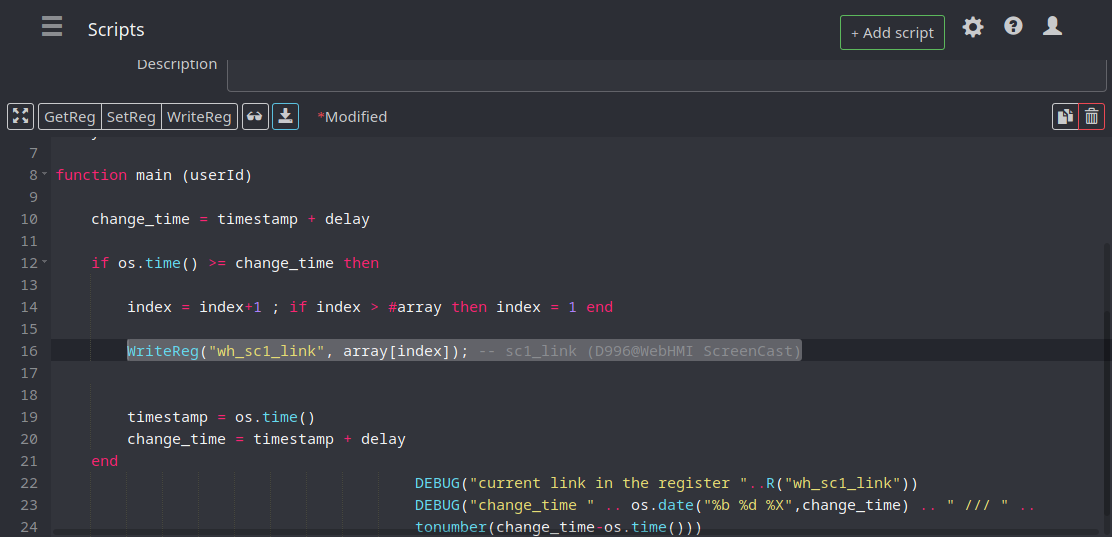
Lua script
The Lua script is the handler for the screencast page that will be cast to the user. If you will do some research about how your system works, you will be able to create e.g., a context-sensitive system or work out the time-based rules and so on. As the simplest example, it is the automatic carousel considered.
array = {"/dashboard2.php?id=1","/dashboard2.php?id=2","/dashboard2.php?id=3"}; index = 1

timestamp    = os.time()
DELAY = 15; change_time = timestamp + DELAY


function main (userId)

    if timestamp >= change_time then -- check if it is time to change page

        index = index+1 ; if index > #array then index = 1 end -- make a loop from index values
                                     -- Put the link to register
        WriteReg("wh_sc1_link", array[index]); -- sc1_link (D996@WebHMI ScreenCast)


        change_time = timestamp + DELAY -- renew change_time
    end

        timestamp = os.time()        --renew timestamp after logical part finished
                                        DEBUG("current link in the register ="..R("wh_sc1_link"))
                                        DEBUG("change_time " .. os.date("%b %d %X",change_time) .. " /// " ..
                                        .. "ETA: "tonumber(change_time-os.time()))
end
Testing
There is a video demo with a remote device's screen.
It is the screencast user just after signing in. A “Remember me” checkbox will help to avoid signing in for such devices, e.g., which have no input devices.
Screencast mode is enabled, hence homepage for the user is 192.168.1.1/screencast.php, where 192.168.1.1 static IP address of the WebHMI.
This page always redirects to the page, which set in the screencast register. As a Lua script changes it, reload will be initiated.
 As you can see there is the 15 seconds delay between the automatical switching.
User cases
Power Supply parameters monitoring
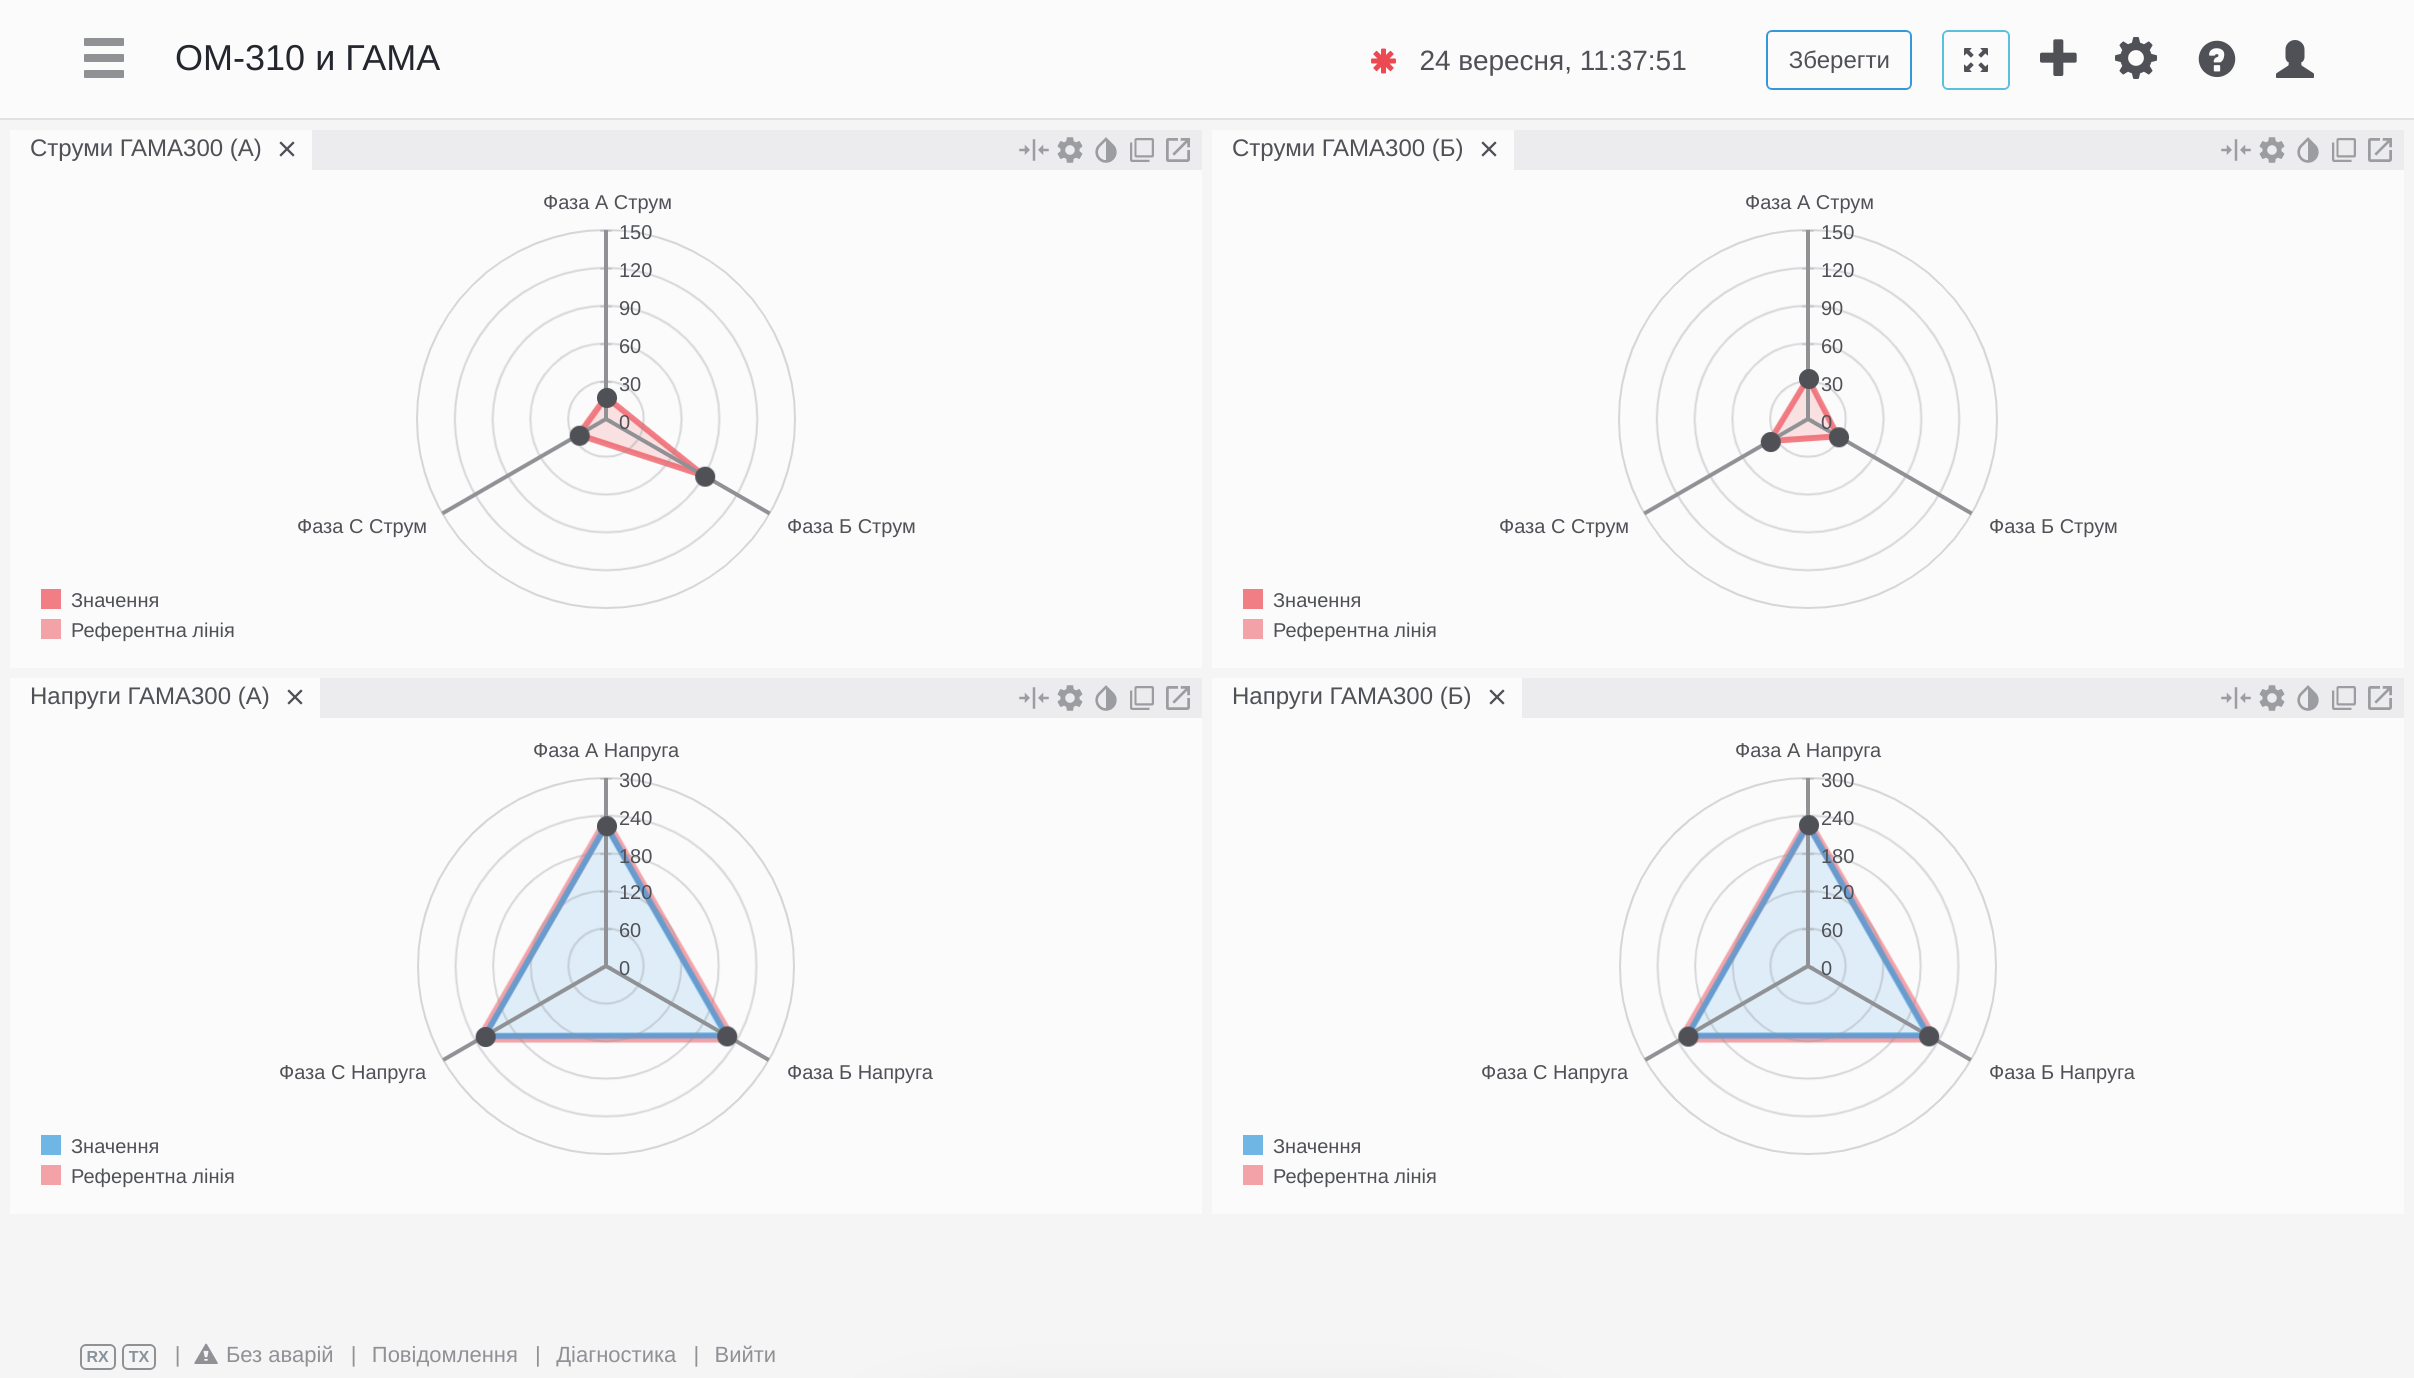 You can show input power energy parameters using screencast. The advantage of screencasting it that, it is allowed to you to show them one at a time if your device's screen too small to do that all-at-time.
In addition, it will make it much more visible, rather than distracting images.
For example, you can show both digital and analogous representation to show the details and full picture.
You can show input power energy parameters using screencast. The advantage of screencasting it that, it is allowed to you to show them one at a time if your device's screen too small to do that all-at-time.
In addition, it will make it much more visible, rather than distracting images.
For example, you can show both digital and analogous representation to show the details and full picture.