Table of Contents
Level2 node setup
A step-by-step tutorial of how to setup WebHMI node in the Level2 system is given below.
Starting from 3.6 WebHMI firmware you can enable services right on the WebHMI - please refer to this page.
Basic settings
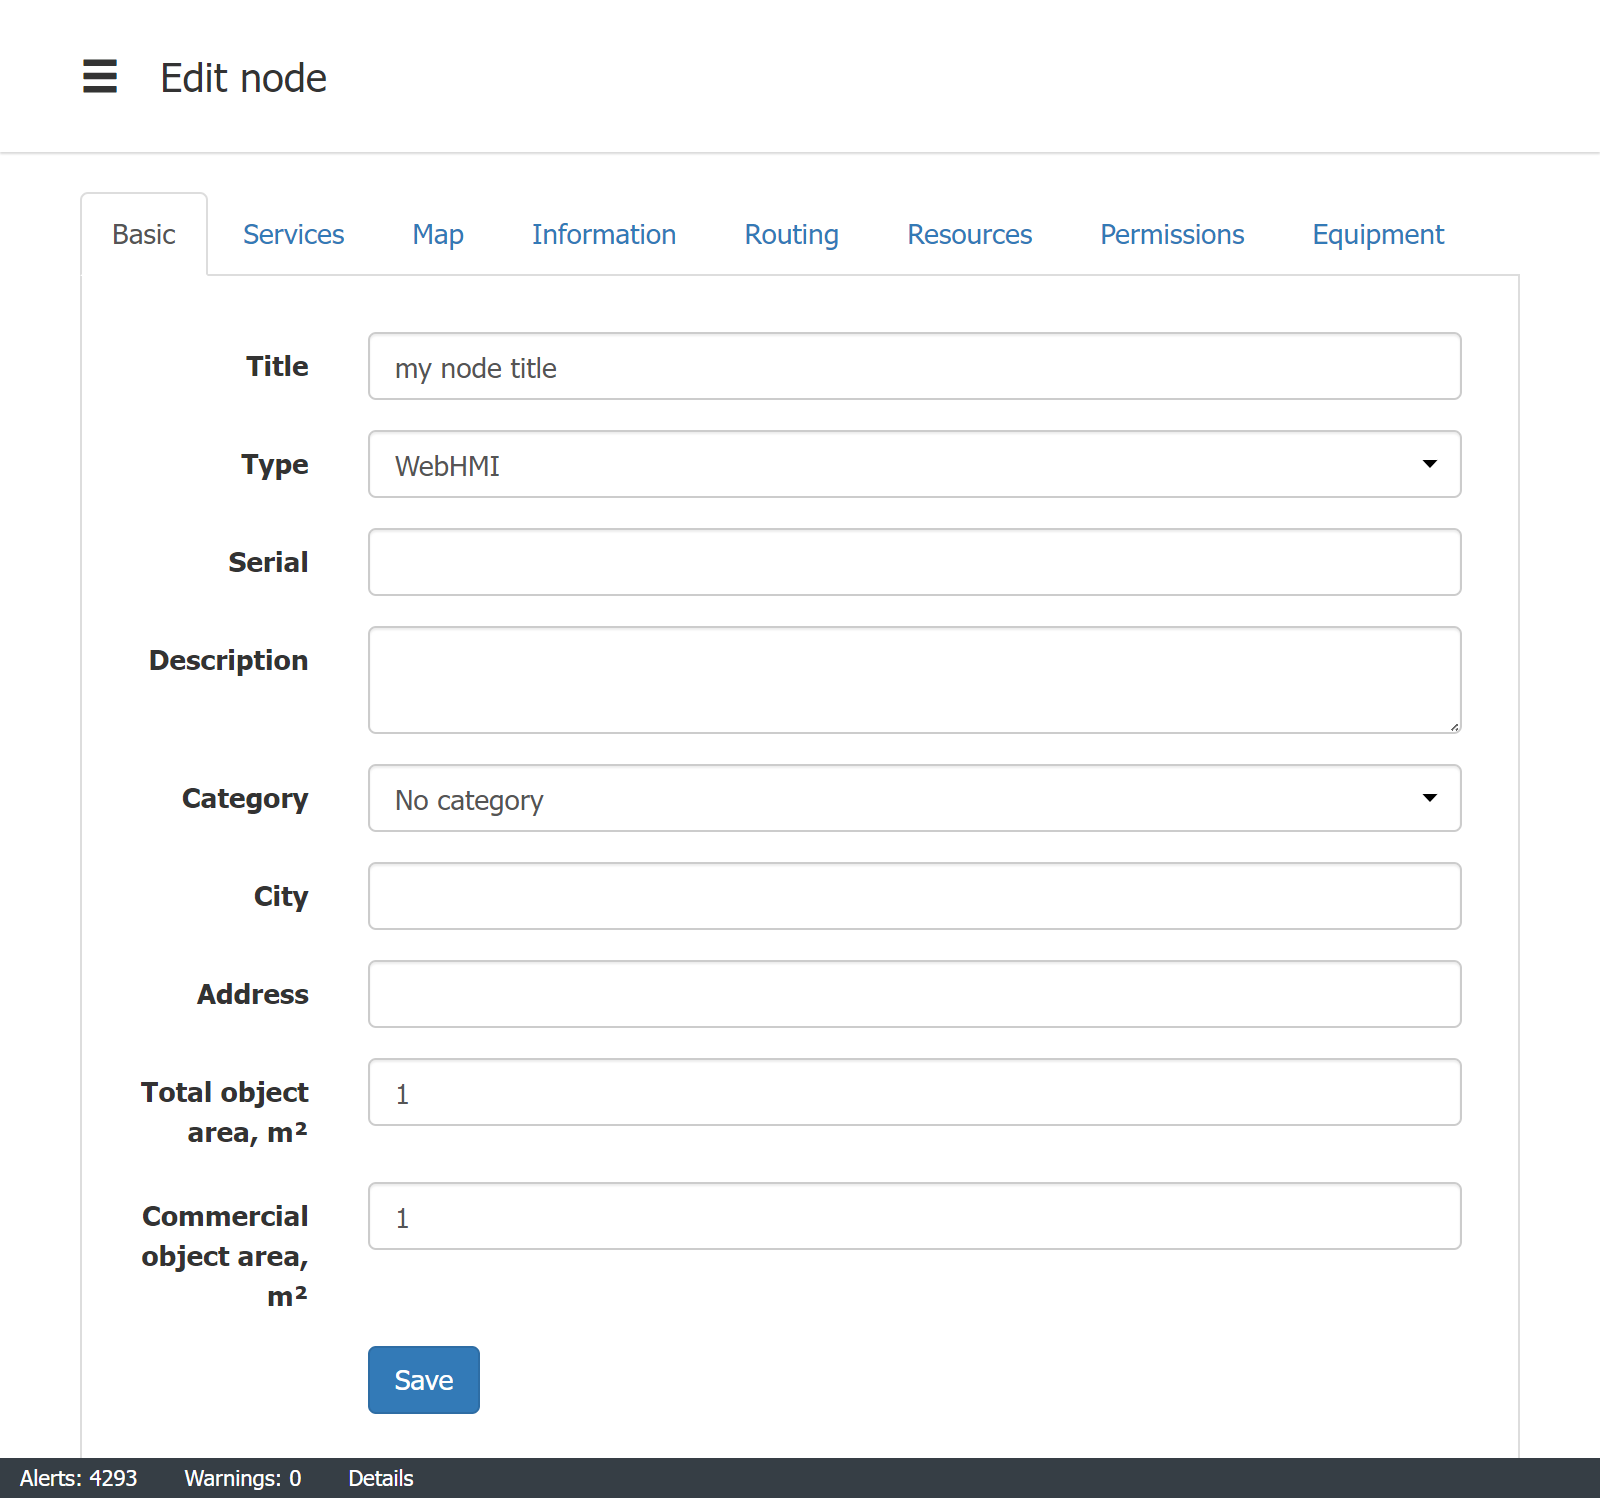
- Title - node's title
- Type - WebHMI (HW or Virtual Box) or PC VPN.
- Serial - serial number of the hw device
- Description - extra detail on this node
- Category - category makes node selection in large lists easier
- City/Address - goes without saying
- Total object area, Commercial object area - this values participates as the specific cost per square meter in the resource consumption analytics
Services
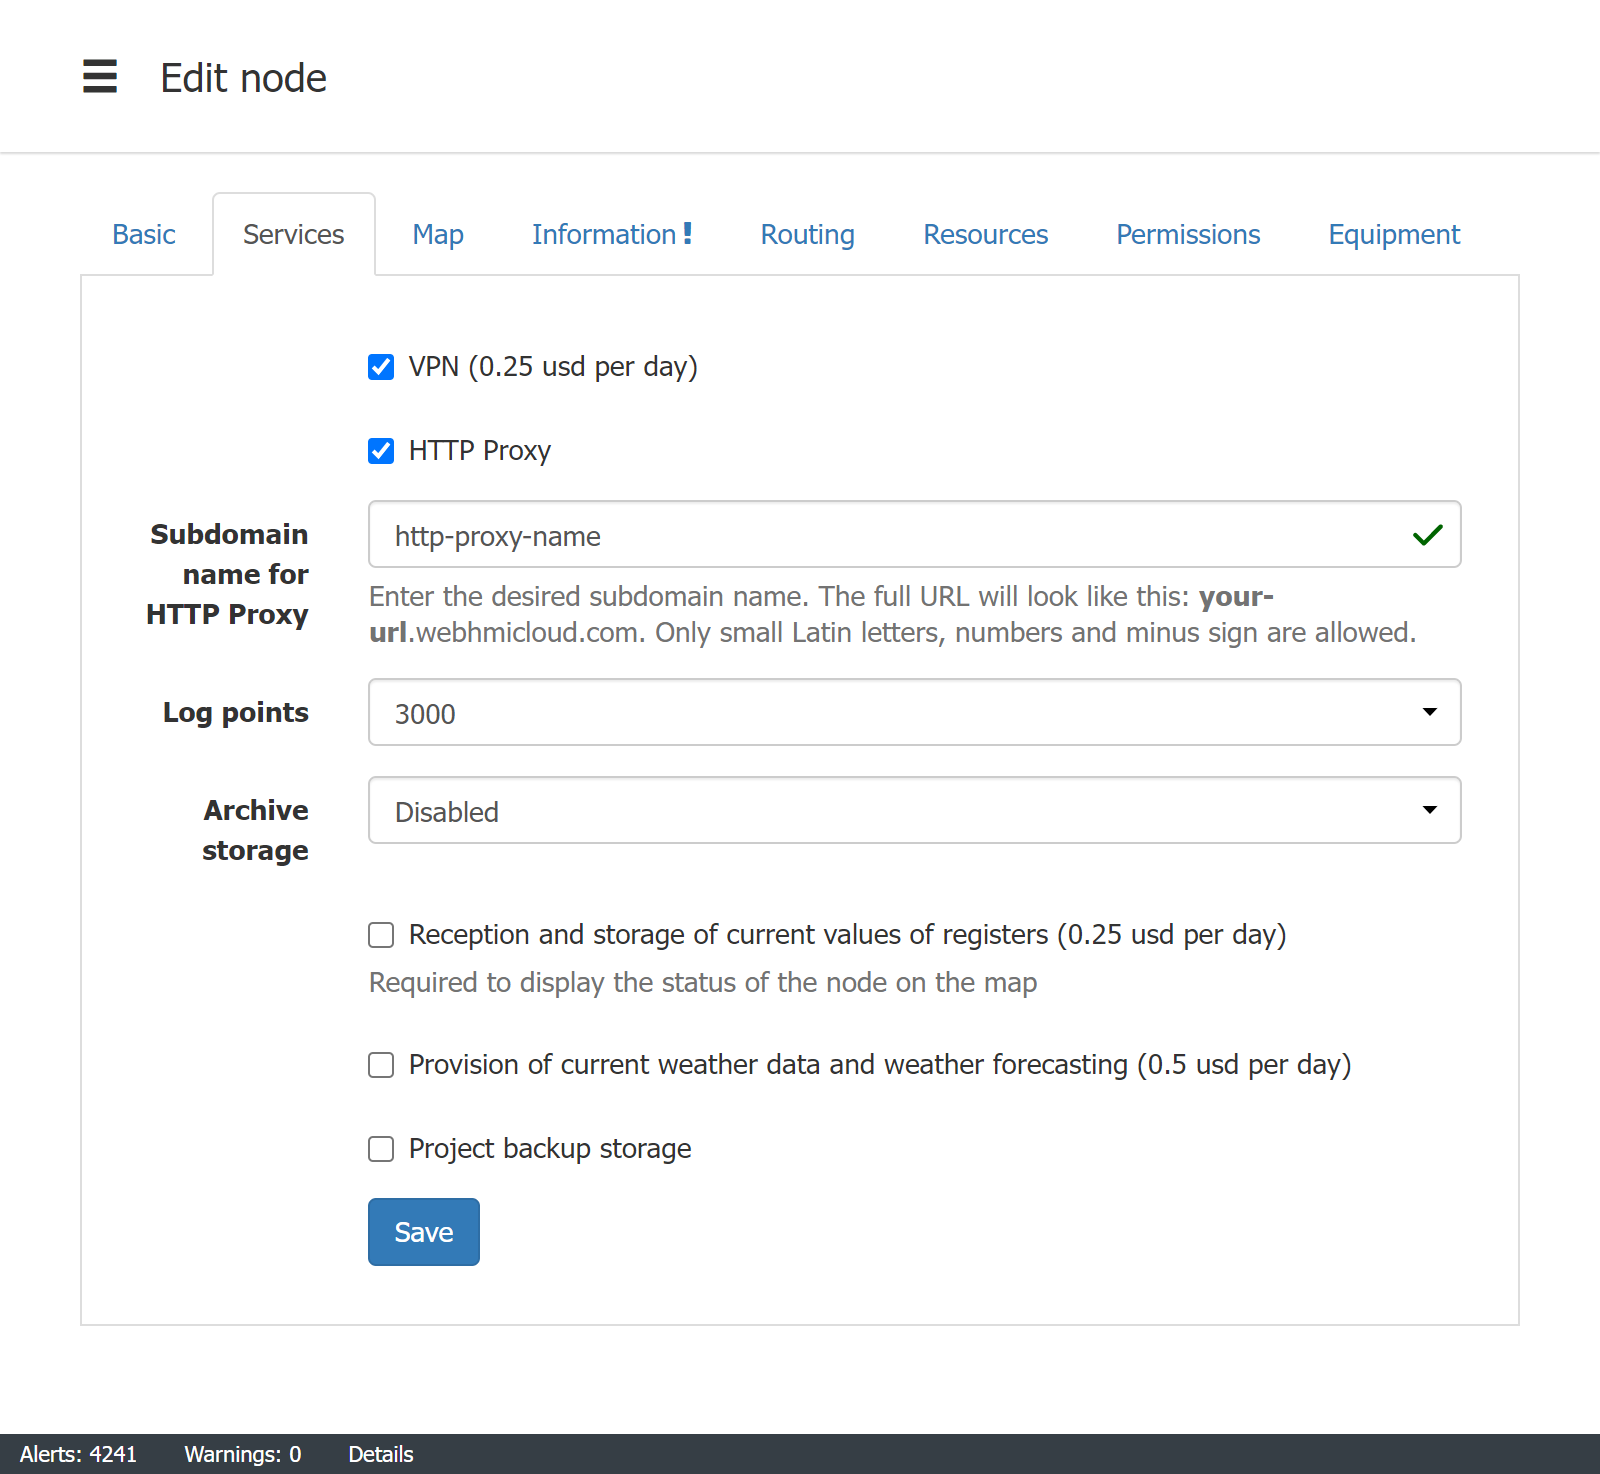
- VPN - if you turn this check box on, an vpn client account will be added to the Level2 server configuration, so that you can connect the WebHMI to the Leve2 using the credendtials provided in the 'Information' tab. Note that the service is synced two ways starting from fw version 3.5, i.e. you can either check/uncheck it from Level2 or right from the WebHMI. See more details on this page
- HTTP Proxy - this service is free, and means you'll get Level2's sub-domain name to access your node with the convinient URL name, like my-node-url.webhmicloud.com
- Log points - save disc space on the Level2 cloud, you can adjust data log density with it on the Level2 storage. One register takes up to 107 points per hours (means data sent for every minute, two minute, five minutes and so on). Limiting log points means overal data rate from the node will be kept under 3000 per hour by rejecting more specific data points. However, while viewing node's graphs in the Level2 (provided the node being connected to L2), the necessary data will be loaded from WebHMI and shown on the graph with maximal resolution.
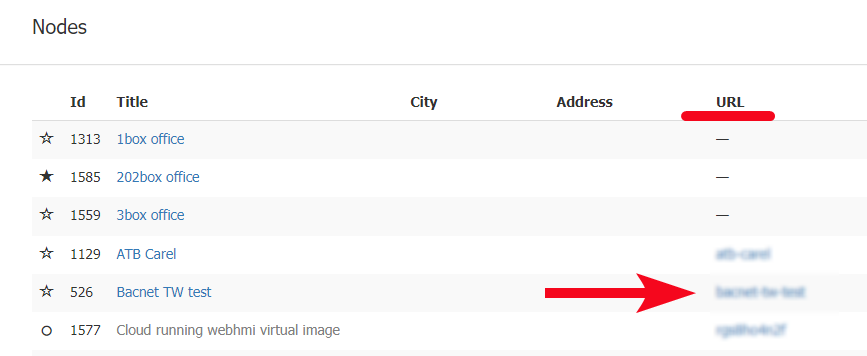
You can also follow this link right from the Level2 pages:
From the node list:
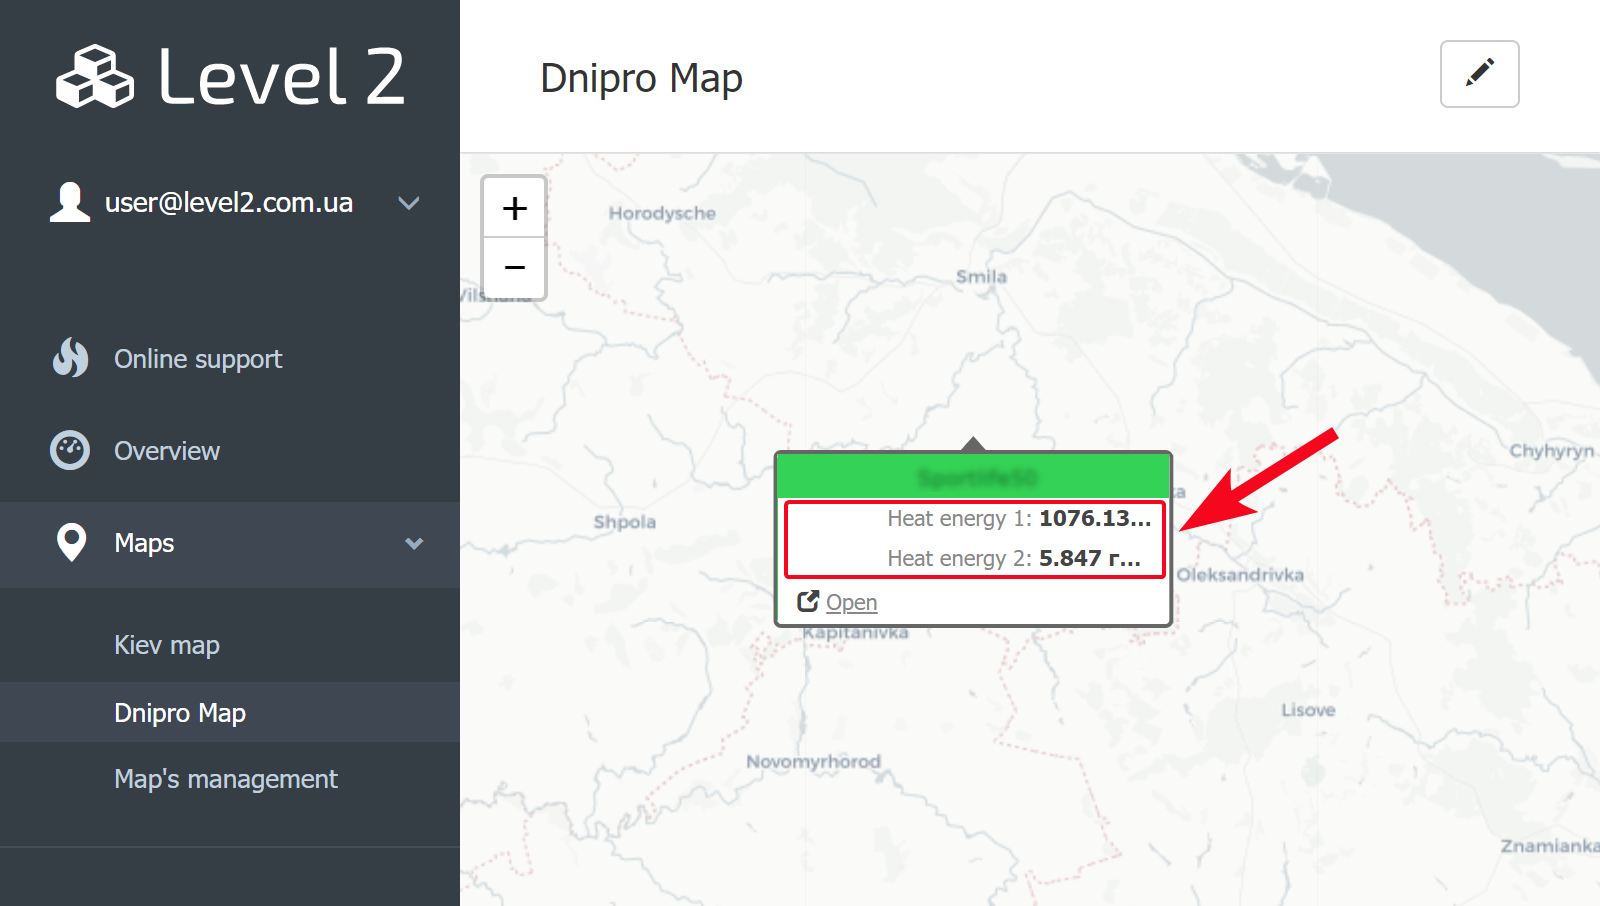
From the map (provided the map with the node was created):
![]()
- Archive storage - see more here
- Reception and storage of current values of registers - Required to display the status of the node and its other realtime data on the map
When this option is enabled, the node can accept real-time data from WebHMI and show them in its tile (see more in the Map tab description):
- Provision of current weather data and weather forecasting - with this option the WebHMI connected to the Level2 is able to request weather data for the node's location and use it for advanced control algorithms based on weather conditions (see more).
- Project backup storage - with this option the latest backup of your project will be automatically sent to Level2 for more safety of your data. You can then download the backup right from the Level2 node list:
![]()
Map
In this tab you define the node's location on the map, and what data will be displayed on its tile on the map and in the nodes overview. The tile is able to reflect the status of the node depending on the status register value (normal, warning, alert, disconnnected), and display some important values from the node in the tile.
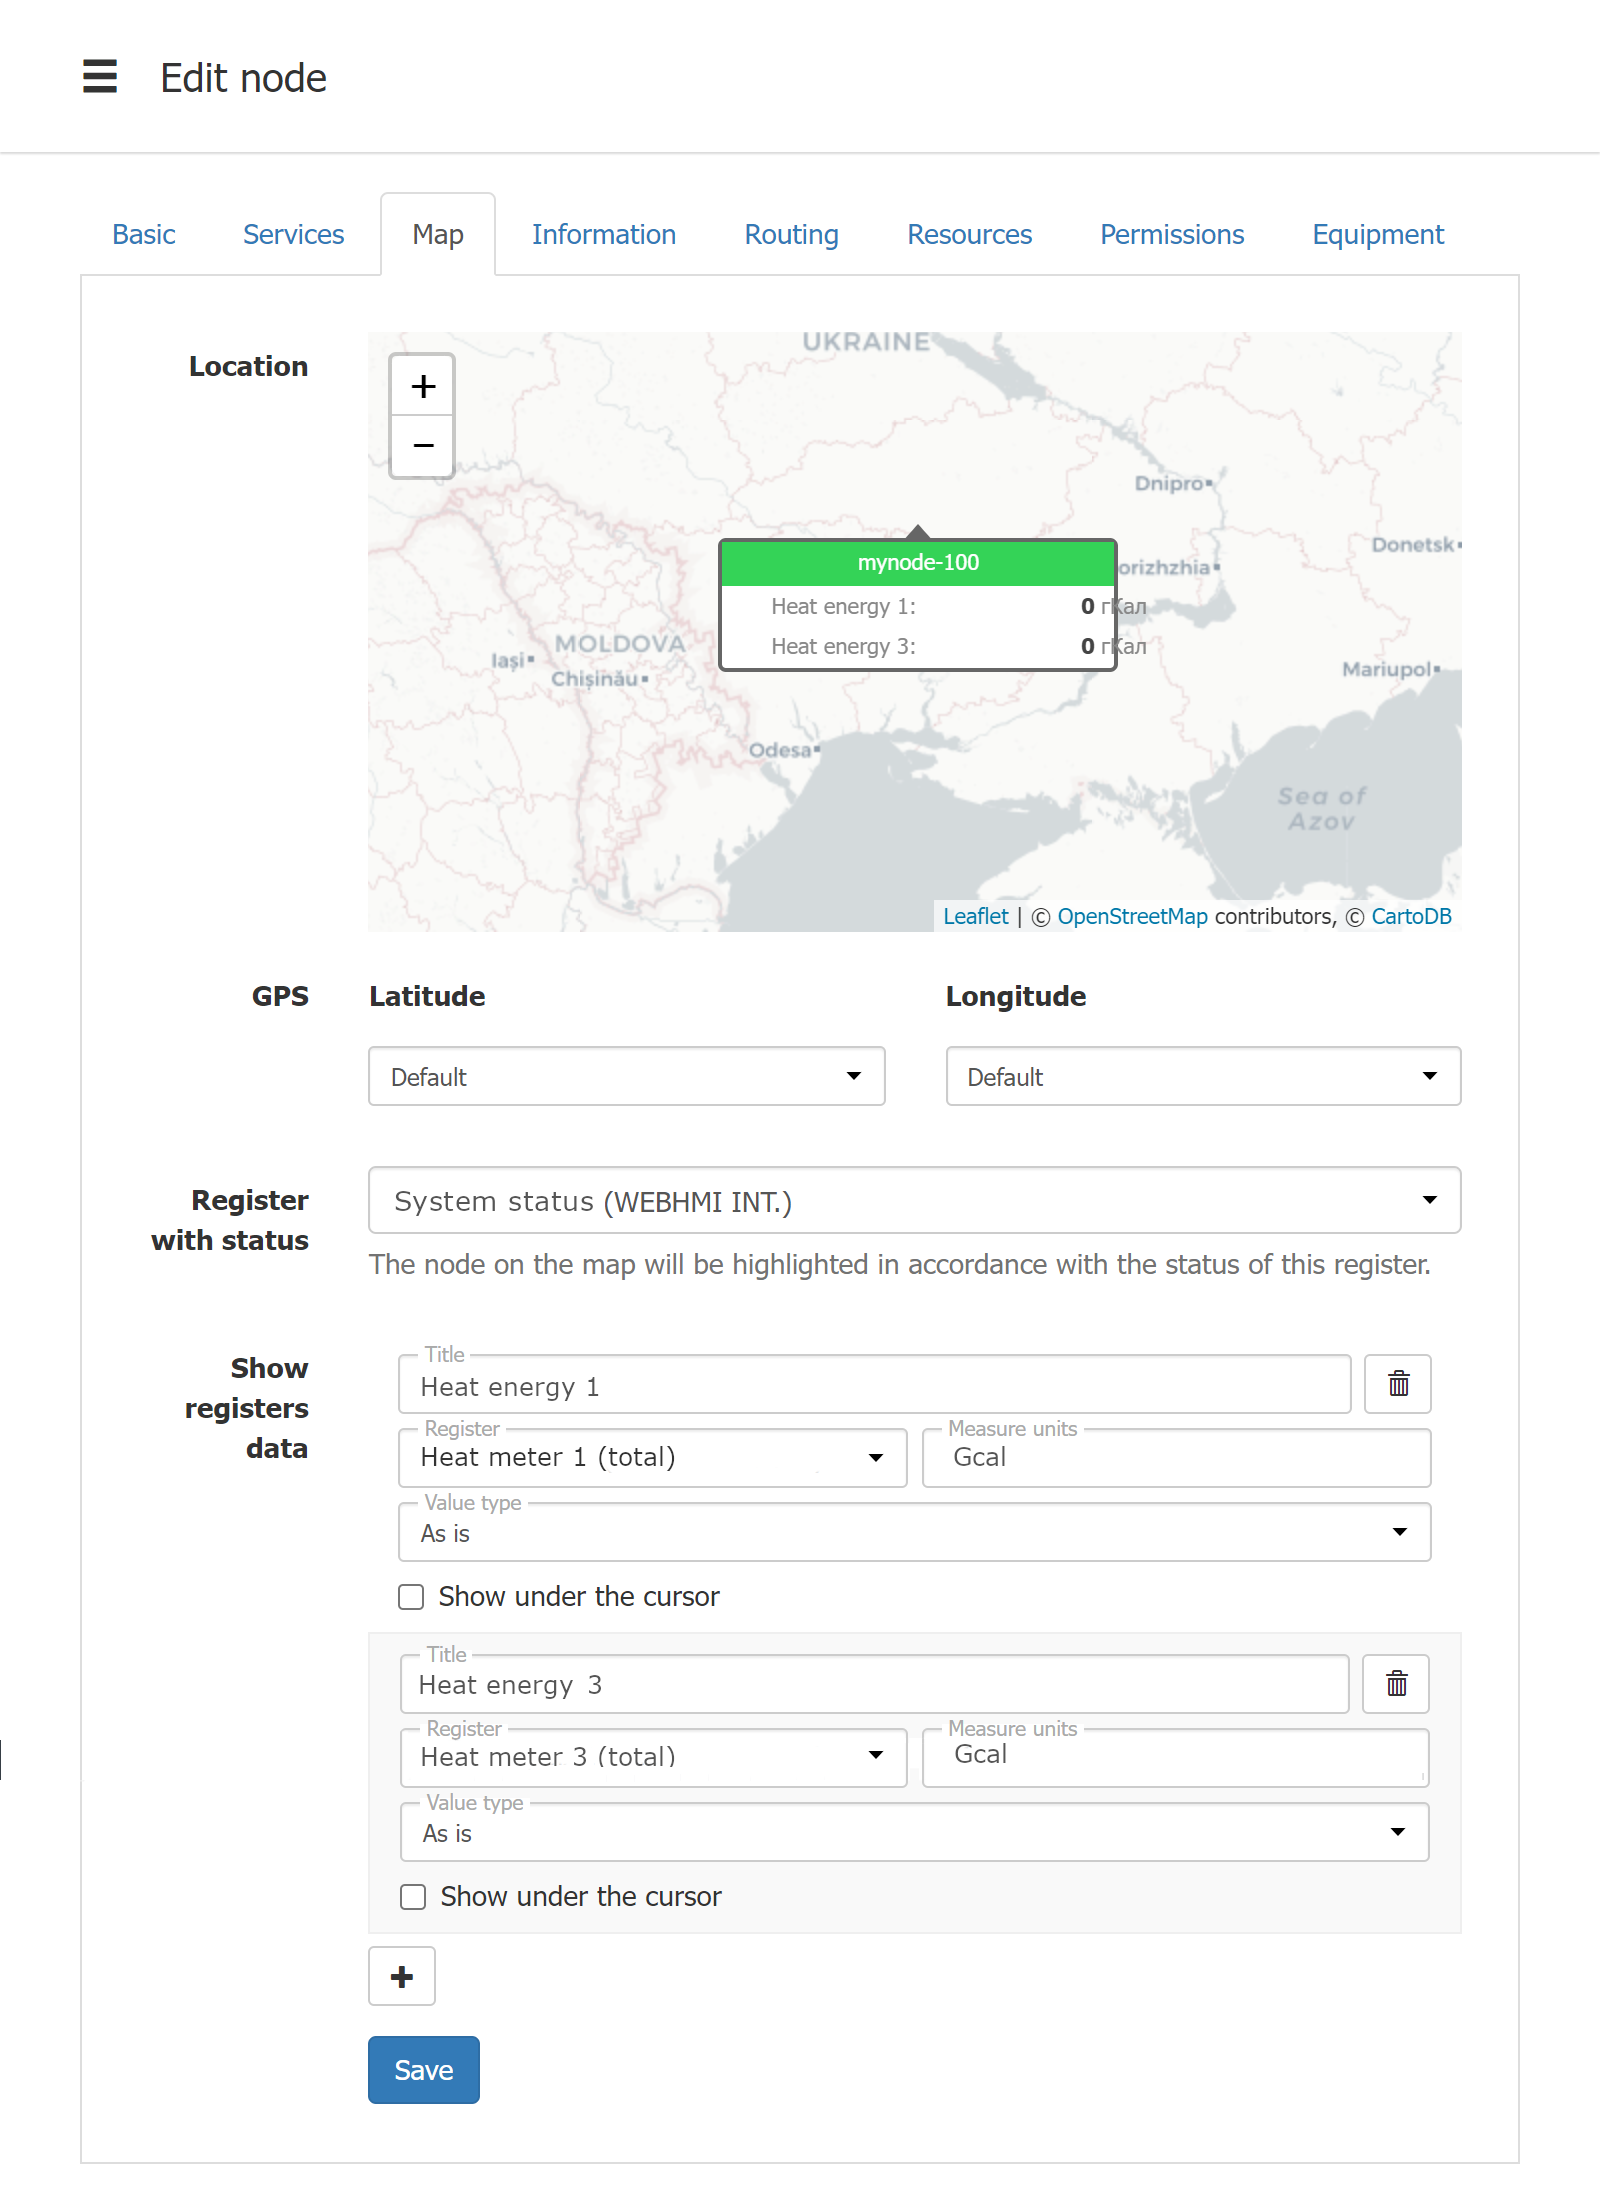
Location
Just click in the desired node location. You can drag the map over with main mouse button pressed.
GPS
Means what values are used to show the node's location. The default values are taken from the map, but you can override them selecting particular registers (with the coordinates), provided they have the “send data to cloud” attribut set on the WebHMI.
Register with status
See the explanation on this page.
Show registers data
If you have “send data to cloud” attribut set for some registes, you can display their values right on the node's tile. The register value can be shown ever or unhided when you hover over the tile.


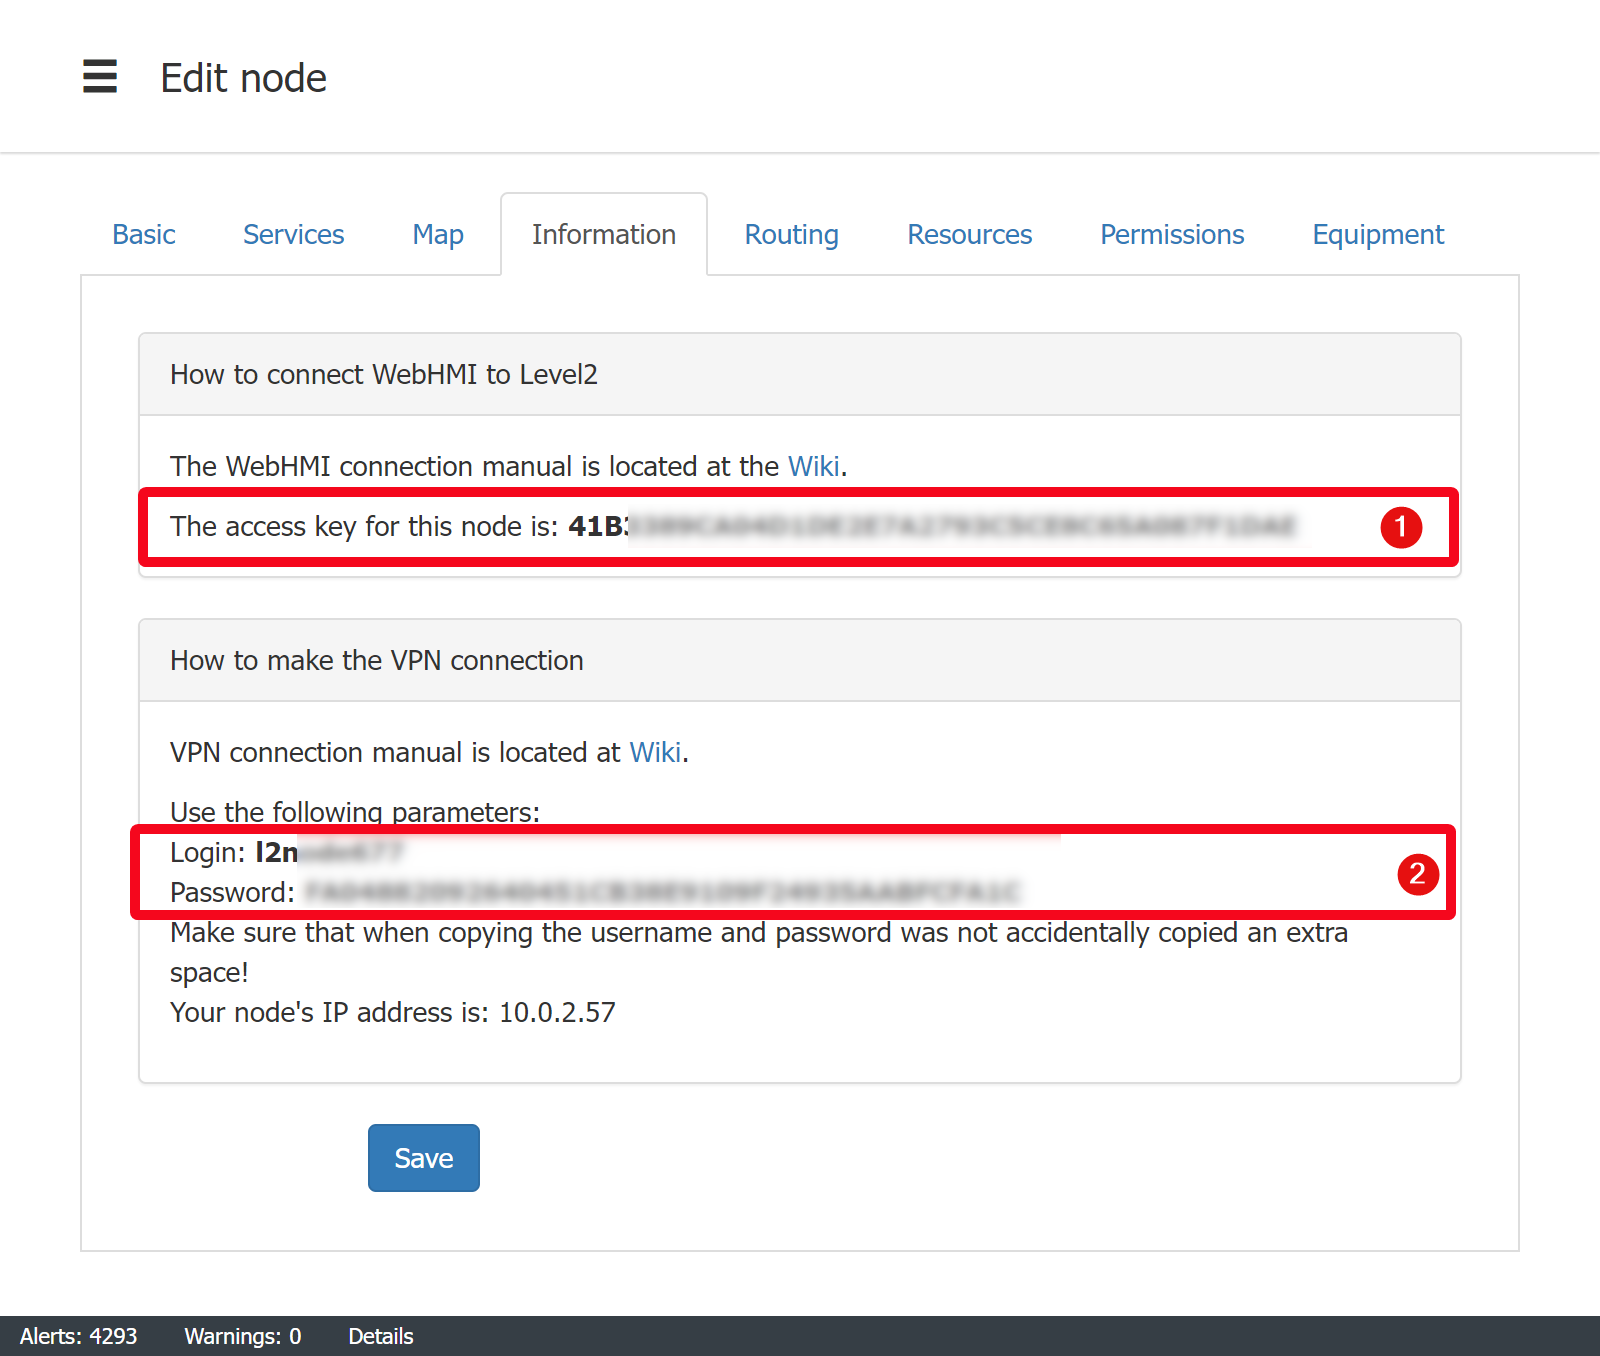
Information
This page contains API key for connecting to the Level2 account and VPN credentials:
Routing
Allow access to nodes With routing, you can add network reach to other nodes in the same account. By default each node is isolated from other nodes and connects to server like point-to-point. To know the target node VPN IP, please find it in the target node's “Information” tab.
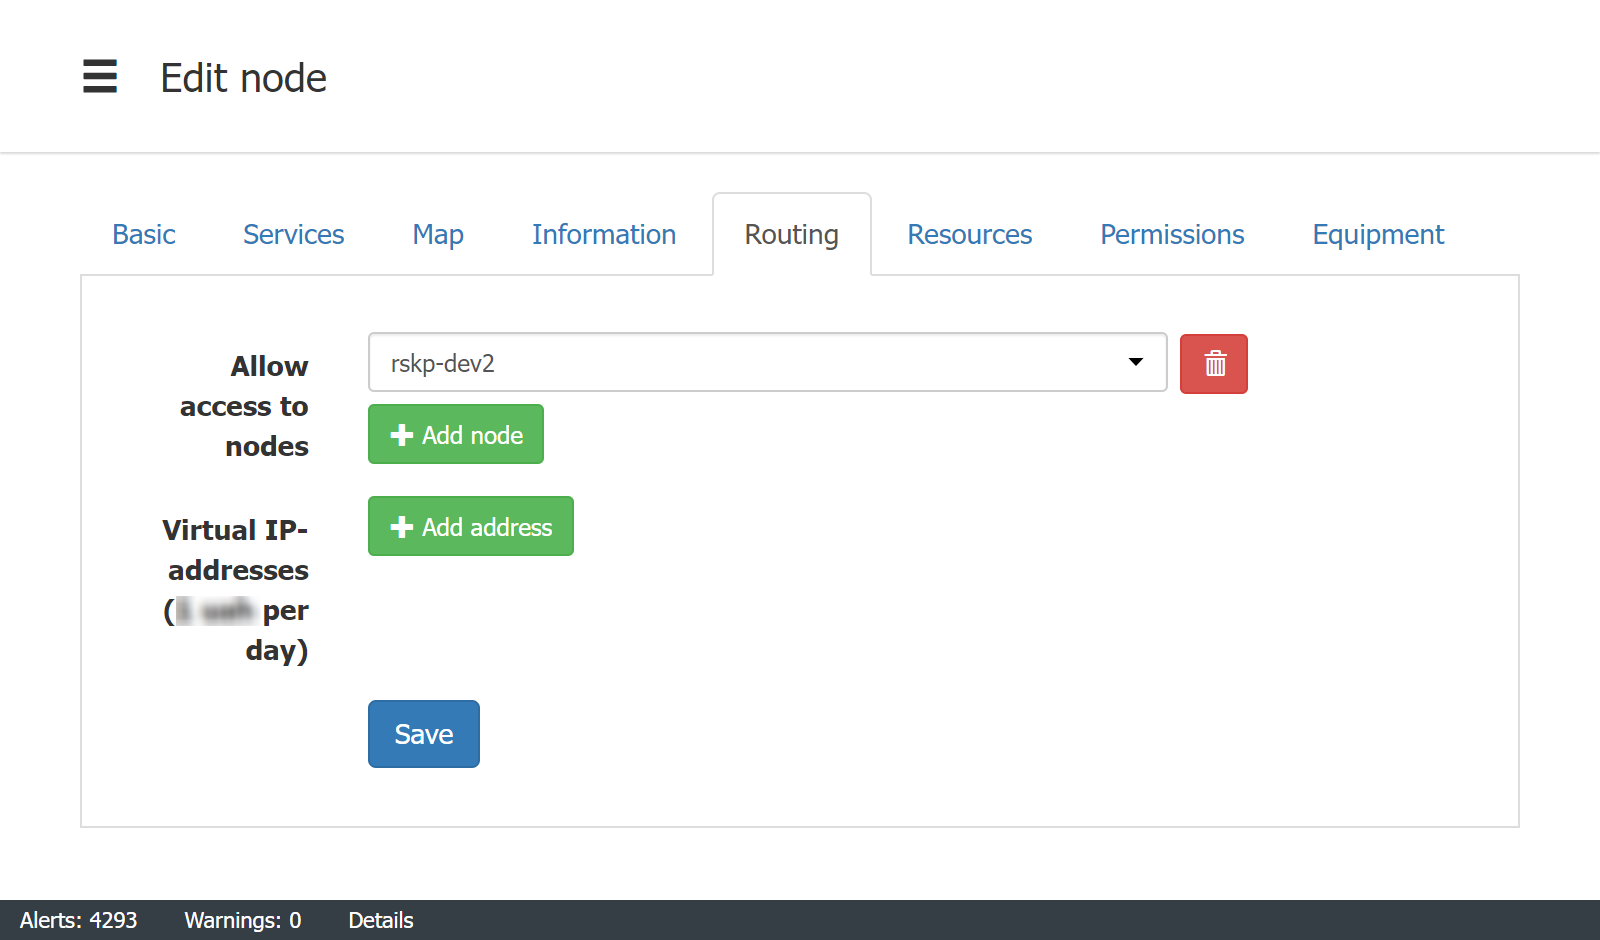
Virtual IP addresses - Please read more on this here.
Resourses
Please read more on this here.
Permissions
The list of the users who may access the node is given here.

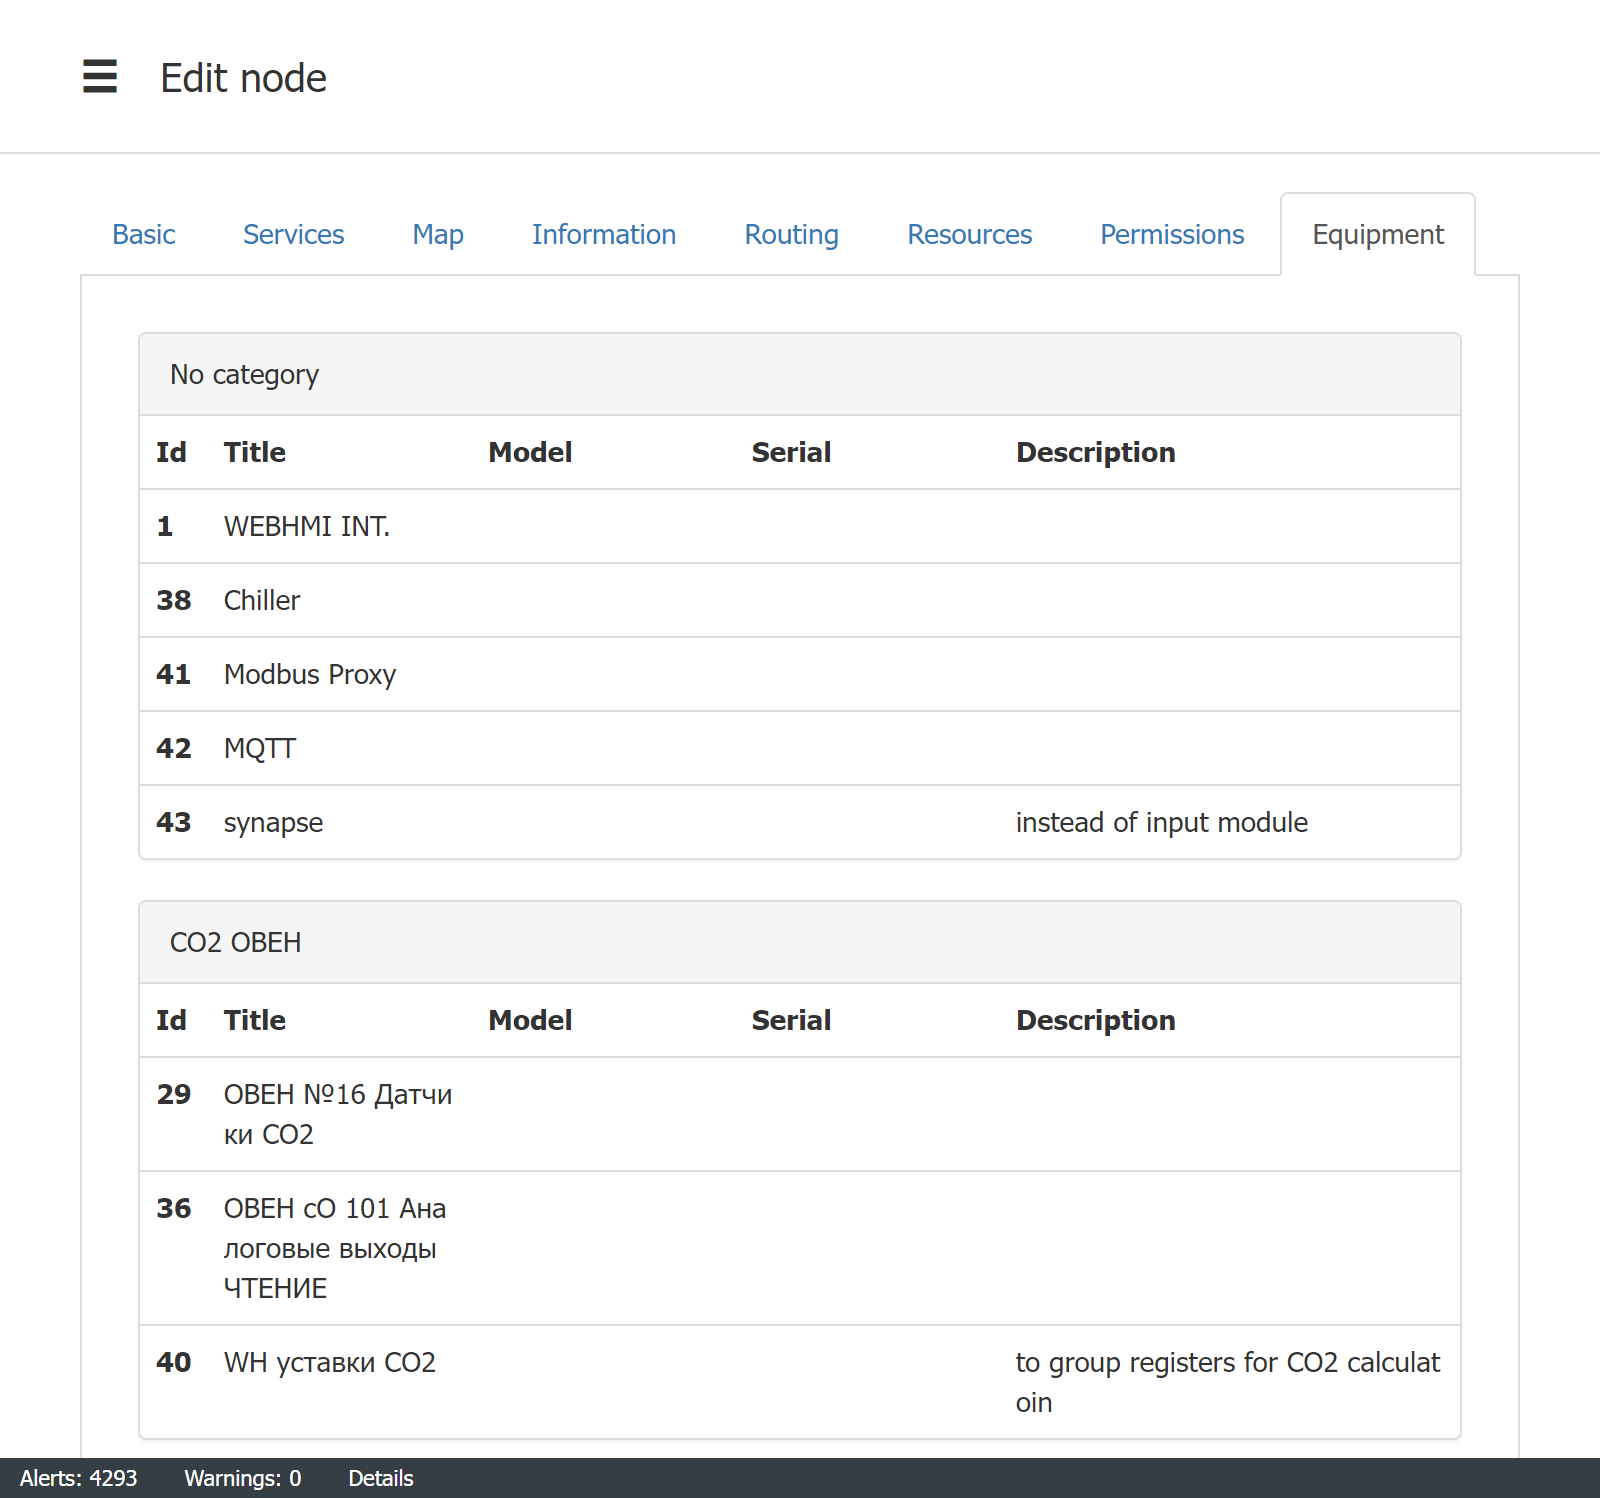
Equipment
This page provides you with a brief on the field devices (which are connected to the WebHMI). The table is built using connection properties.